When your heating and cooling system isn't responding, the thermostat is usually the top place to inspect. You'll intend to validate it's powered appropriately and the setups straighten with your system's demands. A couple of straightforward steps can assist you recognize usual concerns. Start by analyzing power sources and settings, however there's even more to ponder as you fix. Understanding these elements can bring about a much more reliable system and convenience in your house. Let's discover the next actions.
Key understandings
- Look for power supply issues, including tripped circuit breakers and battery replacement in battery-operated thermostats. Verify thermostat setups and settings, ensuring they align with your preferred home heating or cooling down choices. Clean the thermostat to get rid of dust and examine wiring for any type of wear or damages that might impact efficiency. Guarantee the thermostat is properly situated far from warmth resources, direct sunshine, and preferably set up about 5 feet above the floor. Update thermostat software frequently as per the producer's instructions to stop operational concerns and boost efficiency.
Examine the Power Supply
To guarantee your thermostat runs correctly, begin by inspecting the power supply. Initially, confirm if a power failure has actually occurred in your location; this can interrupt your thermostat's functionality. If everything seems great externally, situate your breaker panel. A stumbled breaker might prevent power from reaching your thermostat. Try to find any kind of breakers that are in the "off" placement or appear to be stumbled, and reset them by flipping them back to the "on" placement. After resetting, inspect if the thermostat powers back up. If it doesn't, take into consideration changing the batteries if it's battery-operated or get in touch with a professional for more help. Making sure a secure power supply is important for your thermostat's efficiency.
Examine the Thermostat Setups
After ensuring the power supply is stable, the next step involves evaluating the thermostat settings. This is necessary to guarantee that your system operates efficiently. Start by validating the following:
Thermostat Compatibility: Verify your thermostat is compatible with your heating and cooling system type. Temperature level Setups: Inspect that the temperature level settings are properly configured for your wanted comfort level. Mode Selection: Validate that the thermostat is set to the appropriate mode (home heating, cooling, or vehicle). Set up Testimonial: If your thermostat has a scheduling feature, examine the setups to verify they straighten with your day-to-day regimen.Change the Batteries
While you have actually validated the thermostat setups are correct, it's important not to ignore the batteries. The majority of thermostats utilize AA or AAA battery kinds, but some models could require unique batteries. Examining the battery life-span is important; usually, batteries last in between six months to a year. If your thermostat is less competent or shows a low battery warning, it's time to change them. Constantly power off the thermostat before altering the batteries to prevent any damages or inaccurate analyses. When inserting brand-new batteries, make sure they're oriented properly according to the polarity markings. After changing them, transform the thermostat back on and validate it's working correctly. This basic action can substantially improve your thermostat's performance and dependability.
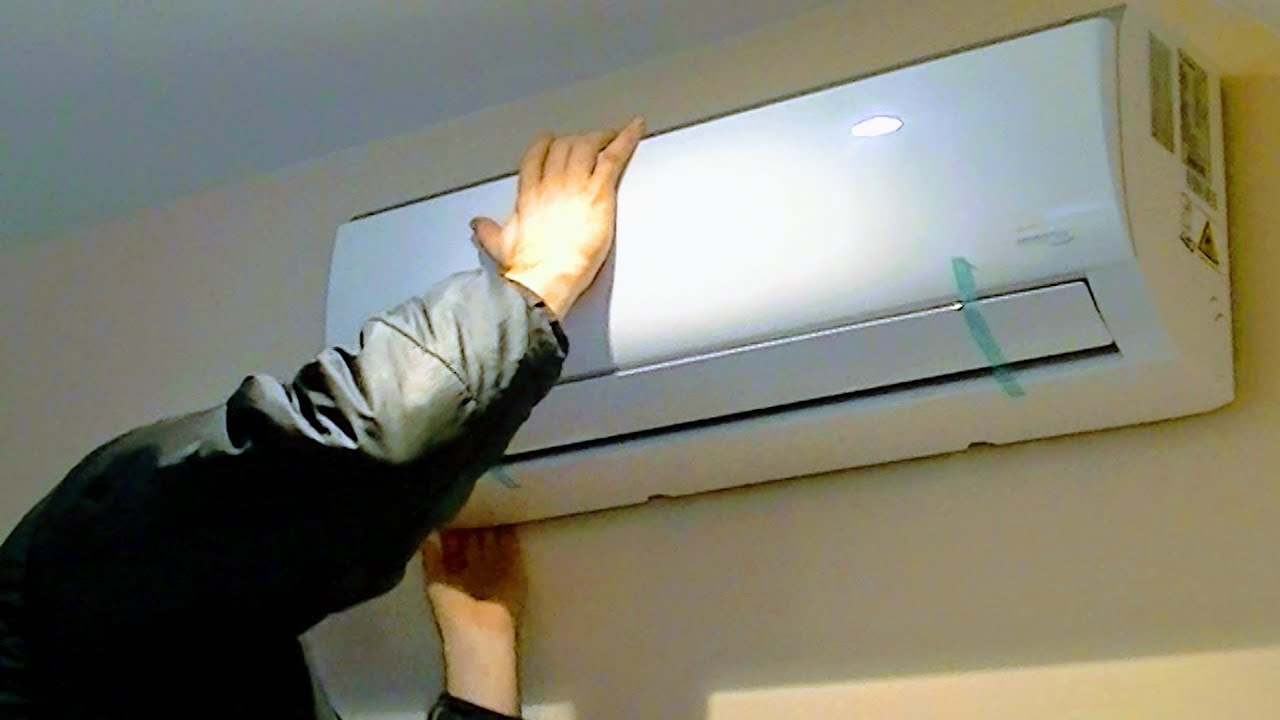
Tidy the Thermostat
To ensure your thermostat works properly, it is very important to clean it regularly. Beginning by eliminating any kind of dirt and particles that may collect on the gadget, as this can disrupt its performance. Furthermore, examine the battery connections and check the electrical wiring and calls for any type of indicators of wear or damages.
Dirt and Debris Elimination
Considering that a clean thermostat guarantees precise temperature analyses and reliable procedure, getting rid of dust and debris is crucial for peak performance. Normal thermostat upkeep can prevent dust accumulation, which disrupts performance. Follow these steps to guarantee your thermostat remains clean:
Switch off Power: Always turn off the power to your heating/cooling system before cleaning. Eliminate the Cover: Delicately take off the thermostat cover to access interior parts. Dirt Elimination: Make use of a soft brush or vacuum cleaner with a brush accessory to remove dust and debris. Reconstruct: As soon as tidy, change the cover firmly and turn the power back on.Check Battery Connections
Inspecting battery connections is essential for your thermostat's performance. Begin by eliminating the thermostat cover to access the battery area. Identify the battery types utilized most thermostats make use of AA or AAA batteries. When you've found the batteries, inspect their link honesty. Verify the calls are clean and devoid of deterioration. If dust or grime exists, delicately tidy the terminals with a cotton bud and isopropyl alcohol. Replace any weak or dead batteries with fresh ones, making sure they're oriented properly according to the polarity indications. After changing the batteries, secure the thermostat cover and look for appropriate procedure. On a regular basis inspecting battery connections aids preserve your thermostat's performance and stops unexpected heating or cooling down issues.
Inspect Wiring and Contacts
Evaluating the electrical wiring and contacts of your thermostat is important for guaranteeing perfect performance. With time, circuitry insulation can wear down, and calls may struggle with corrosion, leading to operational issues. Right here's a concise checklist to help you evaluate efficiently:
Shut off power to the thermostat to ensure safety. Check circuitry insulation for any type of indications of damages or fraying. Take a look at contacts for rust; tidy them delicately making use of a call cleaner if required. Re-secure loosened connections to avoid intermittent issues and guarantee dependable operation.Verify the Wiring Connections
Prior to you proceed with fixing your thermostat, it's important to verify the circuitry links to confirm every little thing is effectively local commercial hvac providers established. Start by shutting off the power to your cooling and heating system to avoid any kind of electrical dangers. Next off, thoroughly eliminate the thermostat cover and check the wiring. Consult your circuitry layouts to verify each wire is attached to the proper terminal. Seek any loosened, frayed, or rusty cords that might trigger link problems. If you find any issues, make use of connection troubleshooting techniques to fix them. Safeguard all links securely, and verify that the cords are not pinched or obstructed. As soon as pleased, change the thermostat cover and bring back the power to your system.
Adjust the Thermostat
To verify your thermostat is operating appropriately, begin by examining its temperature precision versus a trusted thermostat. If you observe inconsistencies, you'll require to readjust the calibration settings to straighten the thermostat's analyses with the actual temperature. Proper calibration warranties peak performance and power performance in your cooling and heating system.
Inspect Temperature Level Accuracy
Calibrating your thermostat is necessary for validating that it precisely shows your home's temperature. This helps prevent temperature variations that can bring about discomfort or inefficient power usage. To inspect the accuracy, follow these steps:
** Use a ** dependable thermometer ****: Position it near your thermostat for a straight contrast. Wait for stabilization: Permit both devices to adjust for a minimum of 15 mins. Contrast readings: Keep in mind any inconsistencies between the thermometer and thermostat. Assess thermostat positioning: Validate it's not near heat sources or drafts that can skew its readings.Readjust Calibration Settings
As soon as you've recognized any mistakes in your thermostat's readings, adjusting the calibration settings is the next action to verify peak efficiency. Calibration methods differ by design, but commonly include finding the calibration screw or dial on the thermostat. If you notice temperature disparities, make use of a reliable thermometer to contrast analyses. Change the calibration screw carefully, going for a match between the thermostat and the thermometer. It's critical to make small adjustments and wait for the thermostat to maintain before examining again. When aligned, you can be certain that your thermostat will maintain your desired temperature level effectively. Normal calibration warranties that your heating & cooling systems run at their best, saving energy and enhancing comfort.
Evaluate the Thermostat's Feedback
Evaluating your thermostat's reaction is crucial for guaranteeing it accurately controls your home's temperature. Different thermostat types may act in a different way, so adhere to these steps for effective reaction testing:
Set the Temperature level: Change the thermostat to a temperature level greater or less than the present area temperature level. Await Response: Observe whether the heating or cooling system turns on within a few minutes. Inspect Temperature Modification: Use a separate thermometer to confirm that the space temperature begins to transform appropriately. Repeat the Process: Examination numerous times to ensure regular responses across different settings.Examine the Area of the Thermostat
To guarantee exact temperature analyses, inspect the thermostat's area within your area. It must be positioned far from warmth sources like vents, sunshine, and home appliances that can cause incorrect readings. Ideal positioning assists maintain regular climate control throughout your home.
Ideal Placement Considerations
Where should you position your thermostat for ideal performance? Correct positioning is crucial for accurate temperature analyses and reliable heating or cooling. Take into consideration these aspects:
Thermostat Elevation: Install it about 5 feet above the flooring for ideal analyses. Wall surface Insulation: Make sure it's on an exterior wall surface with good insulation to stay clear of drafts impacting performance. Stay Clear Of Direct Sunshine: Keep it away from home windows or locations exposed to sunlight, which can alter readings. Central Area: Location it in a main area of your home to assure it reflects the average temperature level of your room properly.Following these guidelines aids assure your thermostat operates efficiently, enhancing your home's convenience and power efficiency.
Preventing Heat Resources
While inspecting the location of your thermostat, it's vital to verify it's positioned away from any type of warmth resources that can hinder its readings. Warm source results, such as those from radiators, ovens, or direct sunshine, can bring about inaccurate temperature level dimensions. This misreading can cause your heating and cooling system to work harder than needed, ultimately raising power costs and lowering comfort. For perfect thermostat placement, verify it lies on an interior wall surface, preferably 5 feet above the floor, and far from windows or doors. Regularly examine the location around your thermostat to identify any type of new heat resources that might have emerged. By staying clear of these impacts, you'll preserve exact control over your home's temperature, advertising performance and convenience.
Look for Software Updates
Checking for software application updates is important to confirm your thermostat operates successfully and makes the most of the most up to date features. Regular updates boost software application compatibility and can solve bugs, enhancing performance gradually. Right here's exactly how to look for updates:
Remember that remaining upgraded can protect against potential concerns and validate peak operation of your thermostat.
Seek Professional Assist if Required
After guaranteeing your thermostat's software application depends on date, you could still encounter issues that require expert intervention. If you have actually checked all fundamental settings and your thermostat still isn't functioning appropriately, it's time to seek advice from thermostat experts or cooling and heating professionals. These specialists have the specialized understanding and tools essential to diagnose complicated problems that you could not be able to recognize. For example, circuitry problems or element failures usually go undetected without appropriate training. Don't be reluctant to connect for help if you're unclear about doing fixings by yourself. Seeking expert aid can save you time and stop additional damages to your heating & cooling system, making certain peak performance.

Regularly Asked Inquiries
Just how Commonly Should I Examine My Thermostat for Concerns?
You should inspect your thermostat for issues at the very least twice a year as component of your thermostat maintenance routine. Normal inspections assist you capture problems early, making certain reliable heating and cooling. When you troubleshoot, try to find mistakes in temperature level analyses or unresponsive setups. If you see any type of irregularities, it's ideal to resolve them without delay. Staying proactive can conserve you energy costs and prolong the life of your HVAC system.
Can a Thermostat Affect My Energy Costs?
Yes, a thermostat can significantly impact your energy costs. If your thermostat settings aren't fine-tuned for energy performance, your heating and cooling systems may run longer than essential, causing higher prices. By ensuring your thermostat properly reflects your wanted temperatures and changing it for when you're away, you can enhance your home's energy efficiency. Routinely examining and calibrating your thermostat helps keep peak efficiency and can lead to substantial savings on your energy expenses.
Are Smart Thermostats Easier to Troubleshoot?
Smart thermostats are typically simpler to fix thanks to their sophisticated clever features. You can access fixing pointers directly through the tool or its app, which usually supplies step-by-step advice. Additionally, many wise thermostats keep track of system efficiency and alert you to possible issues, streamlining the diagnostic process. With user-friendly interfaces and remote accessibility, you can promptly identify and solve issues, guaranteeing your heating & cooling systems operate effectively.
What Temperature level Should I Set My Thermostat To?
You ought to establish your thermostat to an optimal temperature of around 68 F during winter and about 75 F in summertime. Seasonal adjustments can improve convenience and performance. If you're away, consider lowering the temperature level in winter season or elevating it in summer by a few levels to conserve energy. Remember, every house's requirements differ, so fine-tune based on your comfort choices while maintaining energy efficiency in mind.
For How Long Do Thermostat Batteries Normally Last?
Thermostat batteries commonly last between 1 to 3 years, relying on usage and type. Routine thermostat upkeep can assist you check battery life-span efficiently. You should check your thermostat's battery level regularly, specifically prior to peak seasons. If you see variations in temperature or the display lowers, it's likely time to replace the batteries. Always keep extra batteries available to assure your system runs effectively and continually keeps your wanted temperature.
Recap
By complying with these steps, you can successfully troubleshoot usual thermostat issues. Begin with examining the power supply and setups, after that tidy the unit and check electrical wiring. Do not fail to remember to change the batteries and evaluate its feedback. Confirm the thermostat's location is perfect and think about software updates. If issues persist, it might be time to seek professional aid. Regular upkeep can keep your HVAC system running successfully, assuring convenience in your area year-round.